Add a new table
This article provides instructions on how to add a new table in Table Writeback visual
Last updated 3 months ago
On the landing page, click Create Table.
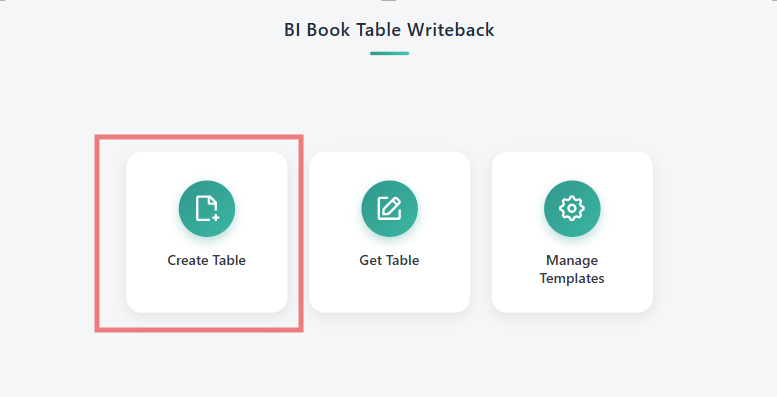
Fill in:
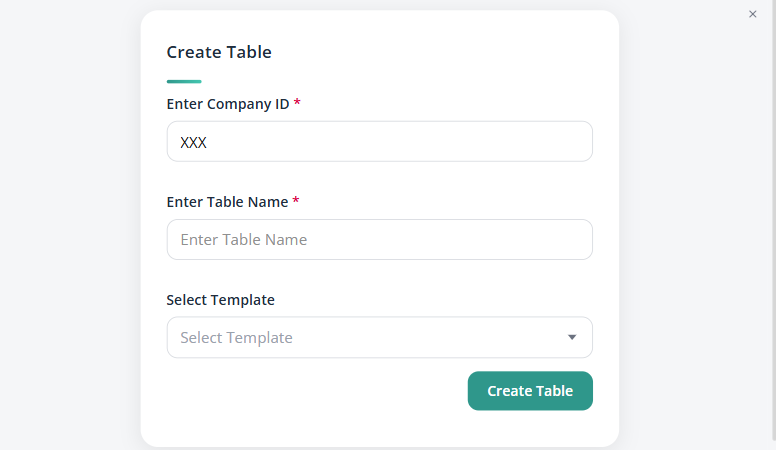
Enter Company ID - your BI Book company ID (pre-filled if already set).
Enter Table Name - the name for your new table. The visual automatically adds a custom_table_ prefix in the database; you never need to type it.
Table naming: snake_case. All table names use lowercase letters, with underscores instead of spaces. For example:
❌ Account Map
❌ AccountMap
✅ account_map
Select Template (optional) - pick a template to start with its columns. Leave empty to start with no columns.
You won’t see any templates in the dropdown if none have been added for your company.
Click Create Table.
💡If a table with that name already exists, you will see the message "Table already exists" and a popup asking "The table already exists. Do you want to open it?" Click Get Table to open it or Cancel to go back.
Still need help? Ask the team